Simple Low Cost Open Source UHF RFID Reader
This page presents a simple low-cost SDR RFID UHF reader capable of reading a tag in real time. This work is a direct continuation of the initial design proposed in[1]. This reader is designed around a simple asynchronous OOK modulator in transmission and an envelope detector in reception. All tasks specific to the RFID protocol including clock recovery, data recovery and frame detection are handled in software by a Arduino Uno micro-controller. This reader is able to generate any RFID command supported by the protocol and to decode any message backscattered by the tag in real time. The details of hardware and software associated with this reader are released in open source for the community.
Information presented in this page has been directly extracted from [2]. Source code of this project is included in a Github repository. This page also included some additional information added by other researchers.
Getting Started
Before we begin, let's ensure you have:
- A personal computer with a USB port
- An Arduino Uno board
- An RFID Reader Shield (version 1a or 1b)
- A 915 MHz antenna (SMA connector)
- A cable USB-A to USB-B
Instructions
- Connect the RFID Reader Shield to the Arduino Uno
- Connect the antenna to the RFID Reader Shield
- Connect the Arduino to the computer using the cable (the "ON" led on the Arduino board should switch on)
- On the computer, open Arduino IDE
- Download the latest version of the firmware on the Github repository and copy paste it in the Arduino IDE
- Build the firmware, output message should look like:
Sketch uses 8586 bytes (26%) of program storage space. Maximum is 32256 bytes.
Global variables use 1368 bytes (66%) of dynamic memory, leaving 680 bytes for local variables. Maximum is 2048 bytes.- Flash the firmware on the Arduino
- Open a serial monitor to check the state of the reader, you should see something like:
RFID Reader V1.0
TARI = 20
PW = 10
L0 = 20
L1 = 40
RTCAL = 60
TRCAL = 180
PIE Rate = 33.33 kb/s
BLF = 44 kb/s
Do not worry about the parameters that you see, these are related to the RFID protocol and can be fully modified in the firmware. The most important thing is that your reader is working. From now, your RFID reader is sending some "Query" commands and trying to detect a tag reply.
- Put a UHF tag close to the reader antenna
- Check the serial monitor, you should see something like:
T1 (RN16) = 256.00 us
RN16[] = 1 1 0 1 1 1 1 0 0 0 0 0 0 1 1 1
T2 (approx) = 238.64 us
T1 (EPC) = 6.00 us
PC[] = 0 0 1 1 0 0 0 0 0 0 0 0 0 0 0 0
L = 96
EPC[] = 0 0 1 1 0 0 0 0 0 0 0 0 1 0 0 0 0 0 1 1 0 0 1 1 1 0 1 1 0 0 1 0 1 1 0 1 1 1 0 1 1 1 0 1 1 0 0 1 0 0 0 0 0 0 0 1 0 1 0 0 0 0 0 0 0 0 1 1 0 1 0 1 0 0 0 0 0 1 0 1 0 0 0 0 0 0 0 0 0 0 0 0 0 0 0 0
CRC[] = 0 1 0 0 0 0 1 0 1 1 1 0 0 1 1 1
CRC 0K
Tpri (theo) = 22.73 us
Tpri0 min/avg/max = 21.00/22.34/22.44 us
Tpri1 min/avg/max = 20.37/22.33/24.44 us
Tpri min/avg/max = 20.37/22.34/24.44 us
BLF (exp) = 44.77 kb/s
If you see this output, congratulation, you just read your first tag!
Troubleshooting
The best way to debug (or understand) the behavior of the reader is to probe the digital pin 8 or the Arduino. All figures presented in the journal paper have been obtained by this method.
Official Versions
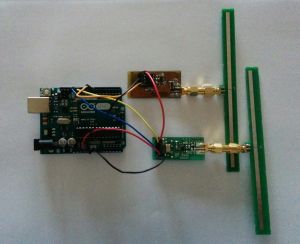
Version 0a This version was based on a bistatic setup (2 antennas are required). The Melexis evaluation board was used for transmitting the RFID signal. The receiver was designed using a custom PCB.
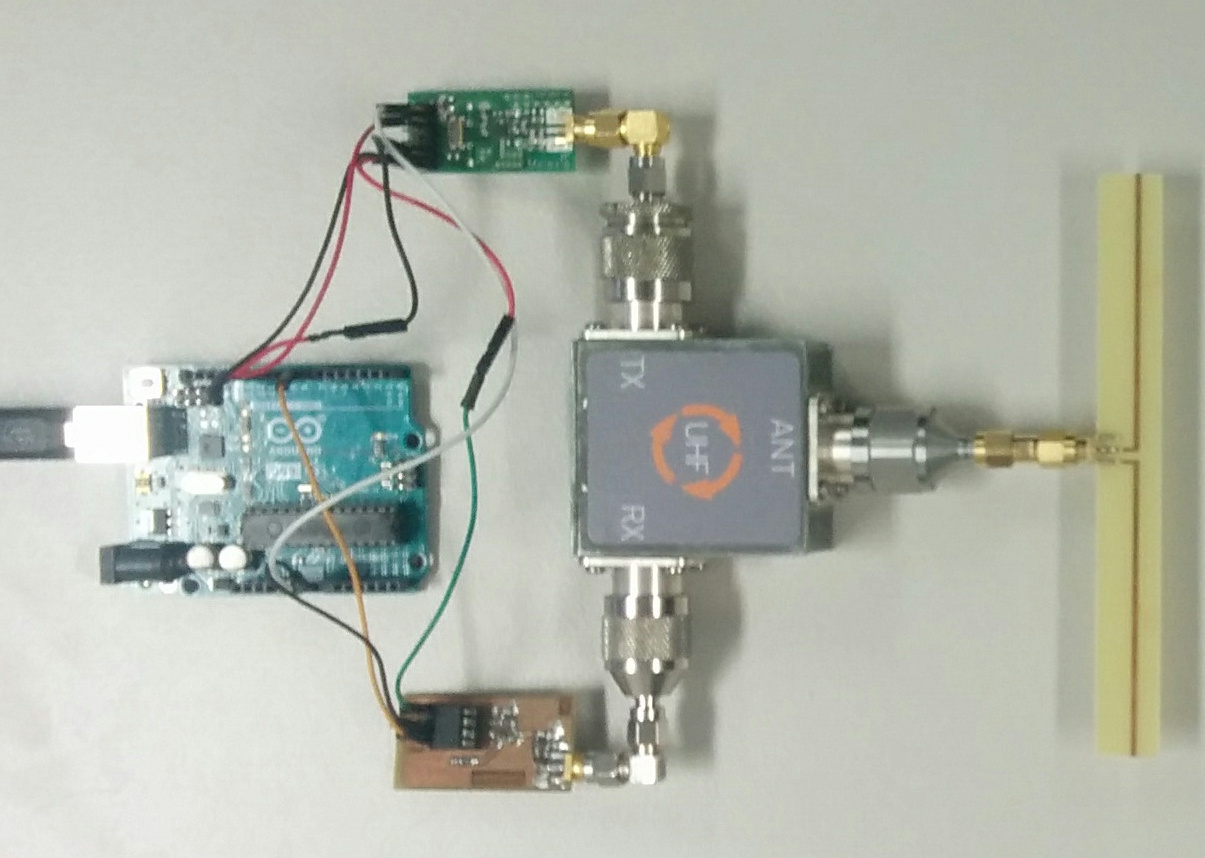
Version 0b This version was based on a monostatic setup (single antenna). The Melexis evaluation board was used for transmitting the RFID signal. The receiver was designed using a custom PCB. Tx and Rx paths were connected using a circulator (from Voyantic).
Version 0c This version was based on a monostatic setup (single antenna). The Melexis evaluation board was used for transmitting the RFID signal. The receiver was a custom PCB. Tx and Rx paths were connected using a power divider.
Version 1 RF signal generation is based on the Melexis chip (obselete). This version was based on a monostatic setup (single antenna). Tx and Rx paths were connected using a circulator. Only one board have been designed and built at LCIS. A picture of the prototype can be seen in the journal article.
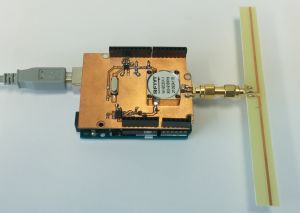
Version 1a RF signal generation is based on the Melexis chip (obselete). Tx and Rx paths were connected using a power divider (which is much cheaper than a circulator). Four boards have been designed and built at University of Washington during a visit in May 2024. These boards will be used for RFID-TA 2025 conference.
Version 1b RF signal generation is based on the Atmel ATA8403 chip. This chip offers a lower Tx power (compared to the Melexis one). Tx and Rx paths were connected using a power divider.
Unofficial Versions
Reader at 2.4 GHz This modification allows one to operate the RFID reader at 2.4 GHz[3]. Since tags at this frequency can not easily be found, the modification of a 915 MHz is also proposed.
Awards
The journal article article received the CRFID James Clerk Maxwell Best Journal Paper Award 2024 during the IEEE RFID conference in Boston.
References
- ↑ P. V. Nikitin, S. Ramamurthy, and R. Martinez, “Simple Low Sost UHF RFID Reader,” in 2013 IEEE International Conference on RFID (RFID), Orlando, FL, USA, Apr. 2013, pp. 1–2.
- ↑ N. Barbot, R. De Amorim Junior and P. Nikitin, “Simple Low Cost Open Source UHF RFID Reader,” in Journal of Radio Frequency Identification, vol. 7, pp. 20-26, 2023
- ↑ N. Barbot, "Hands-on 2.4 GHz RFID," 2023 IEEE 13th International Conference on RFID Technology and Applications (RFID-TA), Aveiro, Portugal, 2023, pp. 245-247


